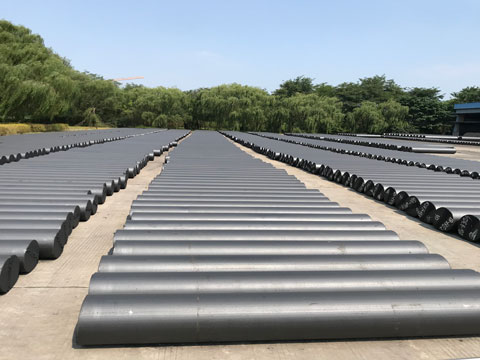
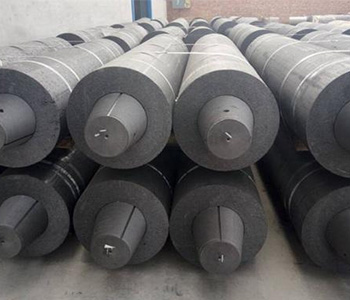
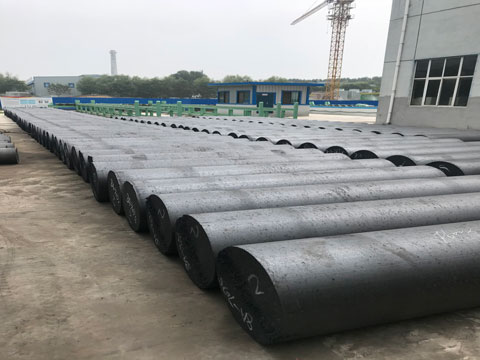
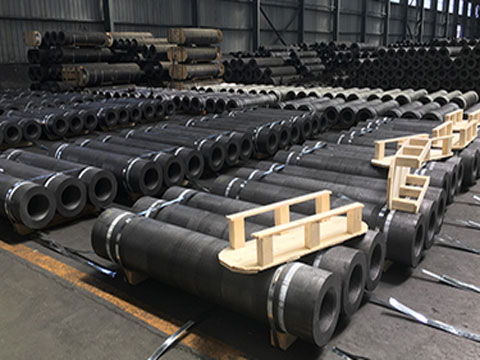
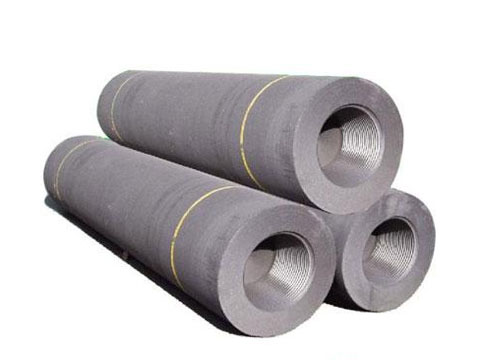
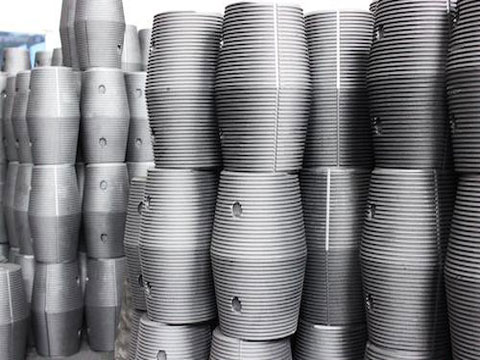
In electric arc steelmaking, artificial graphite electrodes are widely used. Due to the limitations of the manufacturing process and equipment, the artificial graphite electrode cannot be made very long. This requires machining a taper threaded hole on the graphite electrode rod, and connect the electrode rod with a special graphite taper threaded nipple to make a long electrode that can meet the requirements of steelmaking. Due to the extremely harsh production conditions, the matching accuracy of the threaded holes and nipples of the connecting part is very strict.
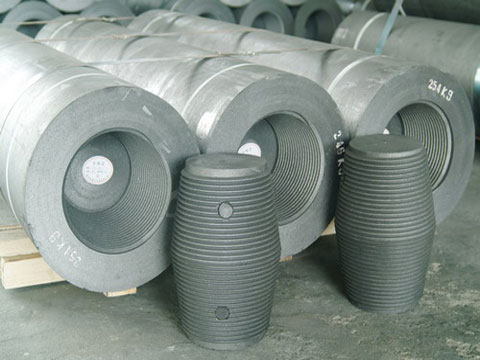
If the connection is not tight, the local contact resistance will be too large, and local heating will occur. If it is overheated, it will cause ablation and cause the electrode to fall off. If the connection is not tight, it may loosen due to electromagnetic resonance, causing the electrode to fall off. Once the fallen electrode falls into the steelmaking furnace cavity, the entire furnace steel will be scrapped and even the steelmaking furnace will be scrapped. In addition, if the precision of the electrode rods at both ends is high and the end faces can be tightly attached, the skin effect of the current can also be fully utilized, so that the current passing through the threaded part is reduced and the heat generation is reduced. Therefore, strict inspections must be carried out on the electrode taper holes and nipples that will be shipped from the factory.
Content of Graphite Electrode Nipple Measurement
my country’s artificial graphite electrode nipple (hole) thread adopts the British NPT standard (corresponding to my country’s GB/T12716-1991 standard). The main common parameter, the pitch, is 6.35 mm (25.4 mm/4) or 8.47 mm (25.4 mm/3). Taper, 1:3 (18.435°). Other parameters such as pitch diameter, thread length, etc., vary with specifications.
Take the specification P4N-500 electrode and connector as an example, its size parameters. The outer diameter of the nipple is 269.88 mm, the pitch diameter of the thread is 266.72 mm in the middle diameter, and the nipple length is 355.60 mm. For the relevant dimensions of the threaded taper hole, the diameter of the big end thread is 266.72mm, the thread length is 179.8 mm, and the hole depth is 183.8 mm.
The inspection of the thread accuracy of the artificial graphite electrode should include the following. ①The accuracy of the thread pitch diameter converted to the reference surface. ②Pitch accuracy. ③ Taper. ④ The thread axis is perpendicular to the end surface.
Measurement of Electrode Nipple
Measuring tool used for measurement
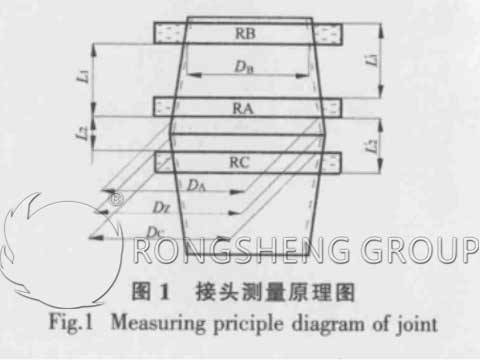
In order to measure the pitch diameter, taper, and perpendicularity between the axis and the end face of the nipple, three-piece ring gauges RA, RB, and RC are used. The three-ring gauges have the same thickness. The RA and RC have the same pitch diameter. The difference is that the upper end of the RC has 4 uniformly distributed through holes of 10 mm in diameter, and the RB end surface also has 4 uniformly distributed through holes of 10 mm in diameter. When measuring the size of the nipple, the three-ring gauges are screwed into the nipple according to the specified torque. As shown in Figure 1. Measure L1′ and L2′ respectively, and calculate L1 and L2 according to the thickness of the ring gauge.
Measuring principle
As shown in Figure 1, screw the ring gauges RA, RB, and RC onto the nipple. When screwing in the ring gauge, the tightening torque is required. Need to use a torque wrench to tighten to control the torque.
In Figure 1, L1 is the actual measured distance between the big end of the ring gauge RA and RB, and the deviation from its theoretical value is ΔL1. According to the measured data, the nipple slope error ΔT can be calculated. Calculation formula:
![]()
By measuring the error ΔL2 of L2, the diameter error of the large end of the nipple can be calculated:
![]()
Measurement of Electrode Hole
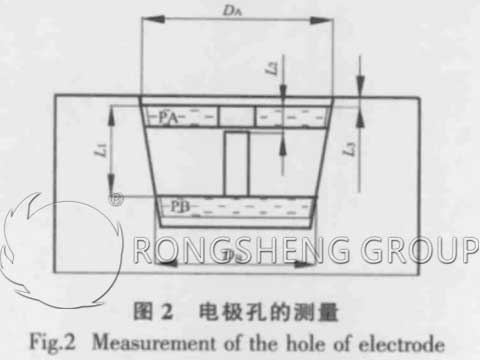
The measuring tool used for measurement uses a set of plug gauges with the same thickness, taking the P4N-500 electrode hole as an example. Two plug gauges of PA and PB with a thickness of 25.4 mm are used. The diameter of the large end of PA is DA 263.387 mm, and that of PB is 220.787 mm. There is a through-hole in the center of PA, which can pass through the measuring rod of the depth gauge, the center of PB has a round rod, which can be used as a handle, and the top plane is also used as a measuring plane.
Screw PB and PA into the electrode hole to be measured with a torque wrench at a certain torque, as shown in Figure 2.
Measuring principle
Similar to the electrode nipple measurement, in Figure 2, L1 is the actual measurement distance of the large end of the ring gauge PA and PB, and the deviation from the theoretical value is ΔL1. According to the measurement data, the inclination error ΔT of the nipple hole can be calculated. Calculation formula:
![]()
By measuring the error ΔL2 of L2, the diameter error of the large end of the nipple can be calculated. Calculation formula:
![]()
When measuring L2, measure 4 points evenly along the circumference. If the measured values at the 4 positions differ greatly, it means that the thread axis is not perpendicular to the end surface.
In Conclusion
It is more difficult to measure the thread accuracy of graphite electrode nipples and nipple holes. The manufacturing process of the thread gauge is also very complicated, and the pitch diameter is difficult to machine to the nominal size. This article proposes a method of indirect measurement of pitch error and taper error using standard gauge blocks. According to this measurement principle, when making ring gauges and plug gauges, there is no need to make harsh requirements on the actual pitch diameter of the gauge, only the taper, pitch, and parallelism of the axis and the large end can meet the tolerance requirements. These are relatively easy to do. As long as the effective diameter of the ring gauge and the plug gauge at the large end is accurately measured, the corresponding gauge block can be made, and the measurement can be changed to a relative measurement. Even if the pitch diameter differs greatly from the nominal value when making the gauge, as long as the actual value can be accurately measured, it will have no effect on the use.

